 Save to Pinterest
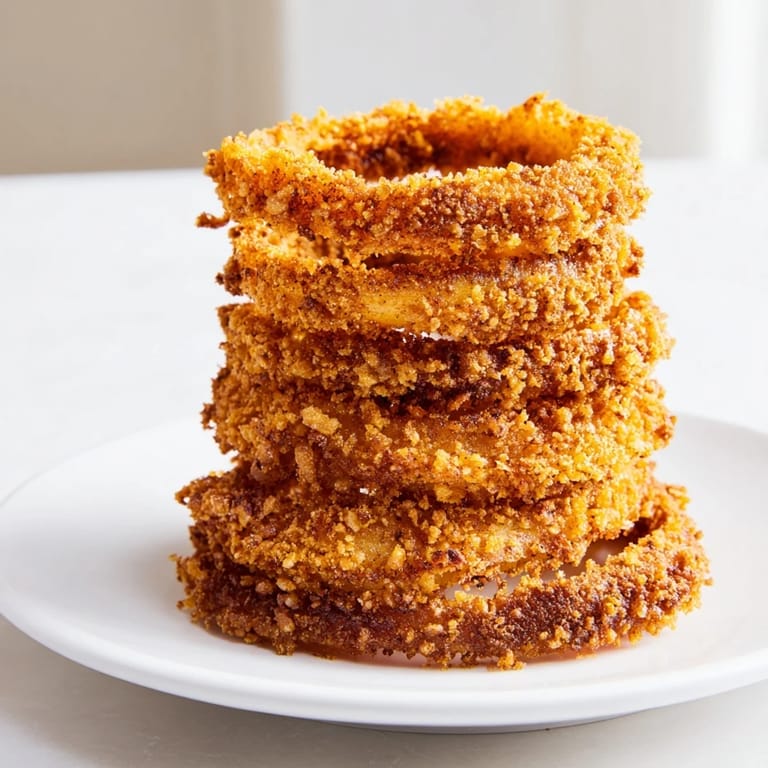
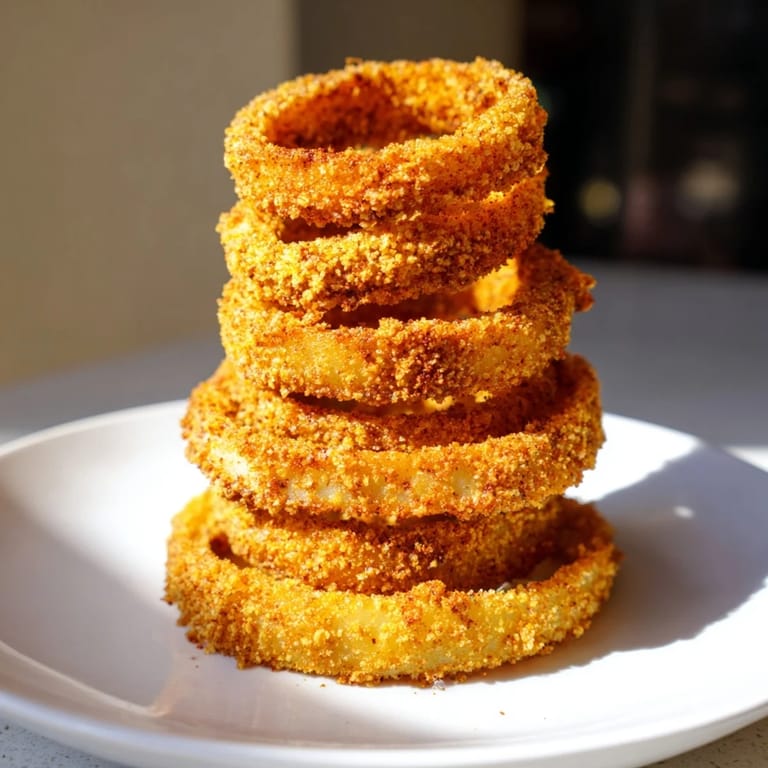
 My friend Marcus showed up to a potluck with these towering onion rings stacked like some kind of delicious architecture, and I watched them disappear faster than anything else on the table. I kept thinking about the sound they made when people bit into them, that perfect crunch that meant the batter had done exactly what it was supposed to do. That night I decided I had to figure out his method, and it turned out the secret was something so simple it almost felt like cheating.
I made these for my sister's birthday potluck last summer, and someone actually said they preferred them to the expensive fried appetizers from the catering place. That moment, standing in her kitchen watching people reach for seconds, made me realize this recipe was worth keeping close.
Ingredients
- Large yellow onions (2): Yellow onions caramelize beautifully as they fry, turning sweet and mellow inside their crispy coat. Slice them thick enough that they hold their shape but not so thick they don't cook through.
- All-purpose flour (1 cup): This is your base structure, the thing that holds everything together.
- Cornstarch (½ cup): The real MVP here, because it's what makes the batter extra crispy and gives you that audible crunch.
- Baking powder (1 teaspoon): This creates tiny bubbles that lighten the batter and make each ring feel less heavy.
- Smoked paprika, garlic powder, salt, pepper (1 teaspoon each, ½ teaspoon pepper): These seasonings go directly into the flour so every bite tastes intentional, not bland.
- Cold sparkling water (1 cup, plus more): Cold liquid and carbonation are what create that delicate, lacy crispness; use regular sparkling water, not club soda.
- Large eggs (2): They bind everything together and add richness to the batter.
- Panko breadcrumbs (2 cups): Panko has larger flakes than regular breadcrumbs, which means it stays crunchier longer and looks more rustic.
- Vegetable oil: Use whatever neutral oil you have; the goal is 350°F for deep-frying or your air fryer's spray setting.
Tired of Takeout? 🥡
Get 10 meals you can make faster than delivery arrives. Seriously.
One email. No spam. Unsubscribe anytime.
Instructions
- Slice and separate your onions:
- Peel the onions and cut them into thick rings, roughly three-quarters of an inch. Separate each ring gently so they don't stick together; this is where patience pays off.
- Build your dry base:
- Whisk together the flour, cornstarch, baking powder, smoked paprika, garlic powder, salt, and pepper in a large bowl. This mixture is the foundation of everything, so don't skip whisking it together thoroughly.
- Mix the wet ingredients:
- Beat the cold eggs and sparkling water together until they're frothy and combined. The cold temperature and the bubbles in the sparkling water are both important here.
- Bring batter to life:
- Pour the wet ingredients into the dry ingredients and whisk until you have a smooth batter that's roughly the consistency of pancake batter. If it looks too thick, add a splash more sparkling water until it coats a spoon and drips off slowly.
- Set up your coating station:
- Pour the panko breadcrumbs into a shallow dish and have it ready next to your batter bowl and a plate for the coated rings.
- Dip and coat each ring:
- Take one onion ring, submerge it completely in the batter, let the excess drip back into the bowl for a second, then roll it in the panko until it's fully covered. The key is not being shy with the panko; press it on gently so it adheres.
- Deep-fry method:
- Heat oil to exactly 350°F in a deep pot or deep fryer. Working in batches so you don't crowd the pan, carefully lower the onion rings into the hot oil and fry for 2 to 3 minutes, turning them once or twice with tongs, until they're deep golden brown. Drain them on a wire rack or paper towels as soon as they come out.
- Air-fry method:
- Preheat your air fryer to 400°F. Arrange the coated rings in a single layer in the basket without overlapping, spray them lightly with oil, and air-fry for 8 to 10 minutes, shaking the basket and flipping the rings halfway through, until they're golden and crisp.
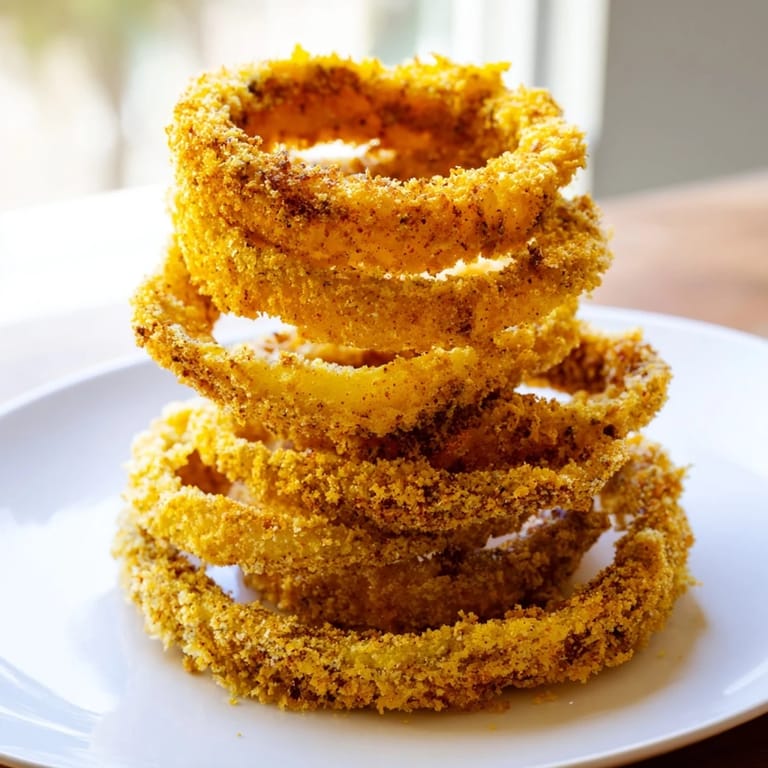
- Stack and serve:
- Arrange the hot onion rings into a tower on a serving platter and bring them to the table immediately. The tower is half the appeal; it looks impressive and feels fun to eat.
 Save to Pinterest
 I've brought these to three different gatherings now, and there's something magical about watching people's faces light up when they see them stacked high. It's comfort food dressed up as showstopper, which is exactly the kind of thing I love to cook.
The Science Behind the Crunch
The reason these rings stay so crispy has to do with three things working together: the cornstarch prevents gluten from developing too much, which keeps the batter tender; the sparkling water creates steam pockets that make the coating light and delicate; and the baking powder adds even more lift. When you fry them, the water in the batter turns to steam and escapes, leaving behind a network of tiny air pockets that crunch when you bite down. I learned this the hard way after making a batch with flat ginger ale instead of sparkling water and being completely baffled by the dense, chewy results.
Temperature Control and Timing
Getting the oil temperature right is honestly the difference between rings that feel light and delicate versus ones that taste greasy or end up pale and undercooked. I invested in an instant-read thermometer and it changed everything because I stopped guessing. For the air-fryer version, the higher temperature compensates for the lack of submerged heat, so don't try to use the same temperature for both methods.
Variations and Flavor Experiments
Once you master the basic version, you can play around with the seasonings and coatings in ways that feel personal to your taste. I've stirred grated Parmesan into the panko, added cayenne pepper to the flour mixture for heat, and even tried mixing a tiny bit of Old Bay seasoning in for a coastal twist. The dipping sauces matter too; spicy mayo with sriracha is my current favorite, but ranch and ketchup are classics for a reason.
- Try mixing grated Parmesan, a pinch of cayenne, and fresh thyme into the panko for an herbier version.
- Make a spicy mayo by whisking sriracha and lime juice into mayo, and serve it alongside.
- Keep a rack in a 200°F oven and transfer finished batches there to stay warm and crisp while you finish frying.
 Save to Pinterest
 These onion rings have a way of turning an ordinary gathering into something memorable, which is really what home cooking is about. Make them, watch people's faces, and know you've done something right.
Recipe Questions & Answers
- → What thickness should the onion rings be cut?
Slice the onions into ¾-inch thick rings to achieve a sturdy texture that holds up well during frying.
- → Can I air-fry the onion rings instead of deep-frying?
Yes, air-fry at 400°F for 8–10 minutes, turning halfway, for a golden and crispy finish with less oil.
- → How can I make the coating extra flavorful?
Add grated Parmesan or a pinch of cayenne pepper to the panko breadcrumbs for an enhanced taste.
- → What oil temperature is ideal for frying?
Heat oil to 350°F (175°C) to ensure the rings cook through evenly and become perfectly crispy.
- → How to keep the onion rings crispy while frying in batches?
Place cooked rings on a wire rack in a 200°F (95°C) oven to keep them hot and maintain their crispness.