 Save to Pinterest
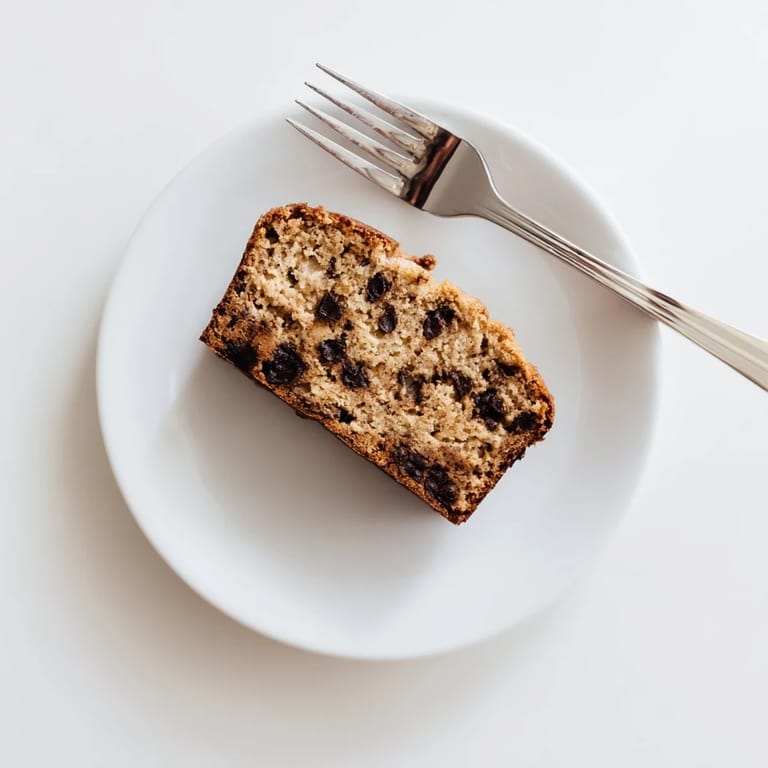
 My neighbor once showed up at my door with three overripe bananas and a sheepish grin, asking if I could rescue them from the compost bin. That afternoon, I made banana bread for the first time in years, and the smell that filled my kitchen was so intoxicating that she ended up staying for tea and a slice while it was still warm. Now whenever I see those spotted bananas languishing in the fruit bowl, I know exactly what to do with them. This recipe has become my go-to solution for both impending food waste and unexpected cravings for something tender and comforting.
I baked this bread for my book club once, and someone asked if it was store-bought because it looked so professionally done. The compliment stuck with me, but what really mattered was watching people go back for seconds and thirds, chatting away while crumbs fell onto the tablecloth. That's when I realized this simple loaf had quietly become the kind of thing that brings people together, no fancy ingredients or technique required.
Ingredients
- All-purpose flour (2 cups): The structure of your bread depends on this, so measuring by weight if you have a scale helps avoid the common mistake of packing flour into the measuring cup.
- Baking soda (1 teaspoon): This is your leavening agent and also helps neutralize the acidity of the bananas, creating that tender crumb you're after.
- Salt (1/2 teaspoon): A small amount awakens all the flavors hiding in the batter and prevents the bread from tasting flat.
- Unsalted butter (1/2 cup, softened): Softened butter creams beautifully with sugar, trapping air bubbles that make the bread light and fluffy.
- Granulated sugar (3/4 cup): This sweetens the bread and also helps create that tender texture by interfering with gluten development.
- Large eggs (2): They bind everything together while adding richness and helping the bread rise in the oven.
- Vanilla extract (1 teaspoon): A tiny splash that deepens the banana flavor in ways you might not immediately recognize but will definitely miss if it's left out.
- Ripe bananas, mashed (3, about 1 1/4 cups): The riper the better—those brown speckles mean more natural sweetness and softer texture in your final loaf.
- Chocolate chips or nuts (3/4 cup, optional): Choose what calls to you in that moment: chocolate for decadence, walnuts for earthiness, or go plain if you want the banana to be the star.
Tired of Takeout? 🥡
Get 10 meals you can make faster than delivery arrives. Seriously.
One email. No spam. Unsubscribe anytime.
Instructions
- Get Your Oven Ready:
- Preheat to 350°F (175°C) and prepare your loaf pan by greasing it well or lining with parchment paper—this step takes two minutes and saves you from banana bread stuck to the sides later.
- Whisk Your Dry Team:
- In a medium bowl, combine flour, baking soda, and salt, then set aside where it won't be forgotten. This mixing ahead of time distributes the leavening evenly so every slice rises just right.
- Cream the Sweet Base:
- Beat softened butter and sugar together in a large bowl until the mixture looks pale, fluffy, and lighter than when you started—this usually takes about two to three minutes with an electric mixer. This step is where the magic of air incorporation happens, giving your bread its tender structure.
- Add Eggs and Vanilla:
- Beat in eggs one at a time, letting each one fully incorporate before adding the next, then stir in vanilla extract. The mixture should look smooth and slightly curdled before you add the bananas, which is perfectly normal.
- Fold in the Bananas:
- Stir the mashed bananas into the wet mixture until well combined—don't worry about lumps since you want some texture here. The wet ingredients should now look like a chunky, golden batter.
- Gently Combine Everything:
- Add the dry ingredients to the wet mixture, stirring gently with a spatula until just combined—overmixing develops gluten and makes the bread tough, so stop as soon as you don't see flour streaks. This moment requires patience and restraint, but it's worth it.
- Stir in Your Mix-Ins:
- Fold in chocolate chips or nuts if using, being careful to distribute them evenly throughout. A few chocolate chips clustered in one spot will make you smile when you get to that slice later.
- Pour and Smooth:
- Transfer the batter to your prepared loaf pan and use a spatula to smooth the top so it bakes evenly. A small peak in the center is fine and actually adds to the rustic charm.
- Bake with Patience:
- Place in the preheated oven for 55 to 65 minutes, checking for doneness by inserting a toothpick into the center—it should come out clean or with just a few moist crumbs. The top should be deep golden brown and the sides should start pulling away from the pan.
- Cool Properly:
- Let the bread rest in the pan for about 10 minutes, then turn it out onto a wire rack to cool completely. This waiting period is hard but necessary—cutting into warm banana bread often makes it crumbly, so patience here pays off.
 Save to Pinterest
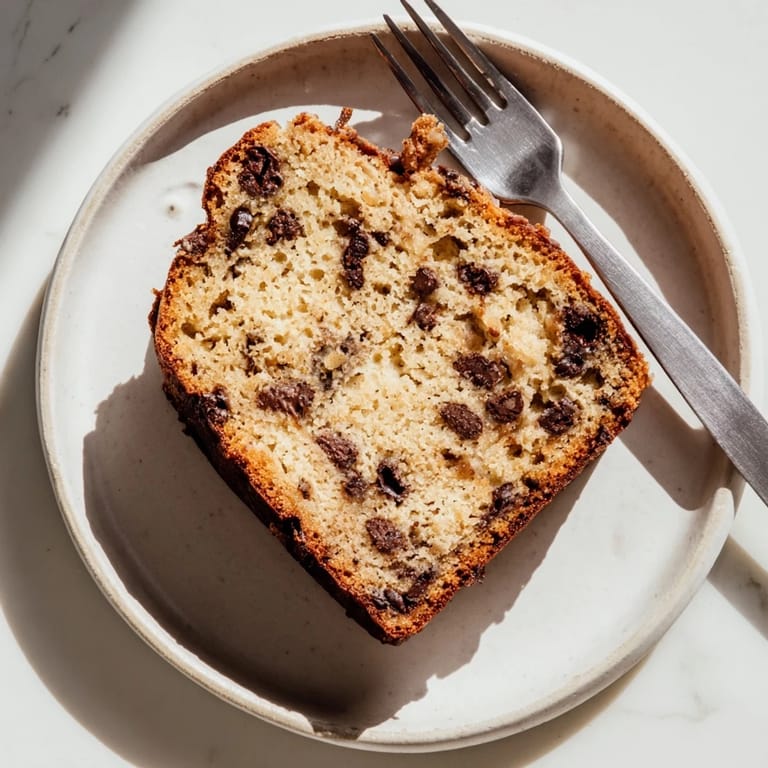
 Last winter, I made this bread on a snowy Sunday morning and the whole house smelled like warmth and comfort while everything outside was frozen and gray. My kid came downstairs, sat at the kitchen table without being asked, and we just existed together in that smell for a while—no screens, no rushing, just banana bread and contentment. Those quiet moments are when I realized this recipe isn't really about baking at all.
Choosing Your Bananas
The banana situation can make or break your bread, so let's talk about it honestly. Green bananas will give you a denser, less sweet loaf because they haven't converted their starches to sugar yet. Brown-speckled bananas are your sweet spot—they're soft enough to mash easily and sweet enough to shine without tasting artificial. If your bananas are still yellow, set them on the counter for a few days and let them do their thing naturally.
When to Add Chocolate or Nuts
I've learned that chocolate chips work best if you use quality ones because they'll actually taste like chocolate rather than waxy coating. Nuts are lovely for texture, and I prefer toasting them lightly first to wake up their flavor, though it's not strictly necessary. Here's the thing though—some days I want pure banana bread, and that's equally valid and delicious, so don't feel obligated to add anything if you're not in the mood.
Storage and Serving Ideas
Wrapped well, this bread keeps for three days on the counter and up to five days in the refrigerator if you can resist eating it all first. I love slicing it while still slightly warm, spreading a thin pat of butter on each piece, and watching it melt into the crevices—it's humble but absolutely satisfying. Some mornings I toast yesterday's slices and drizzle them with honey, which transforms them into something that feels almost fancy for breakfast.
- Leftover banana bread freezes beautifully for up to three months if you wrap it tightly in plastic wrap and then foil.
- If you're baking for someone dairy-free, swap the butter for coconut oil or plant-based butter in equal amounts.
- The bread tastes even better on day two as the crumb continues to set and flavors deepen, so bake it a day ahead if you're feeding guests.
 Save to Pinterest
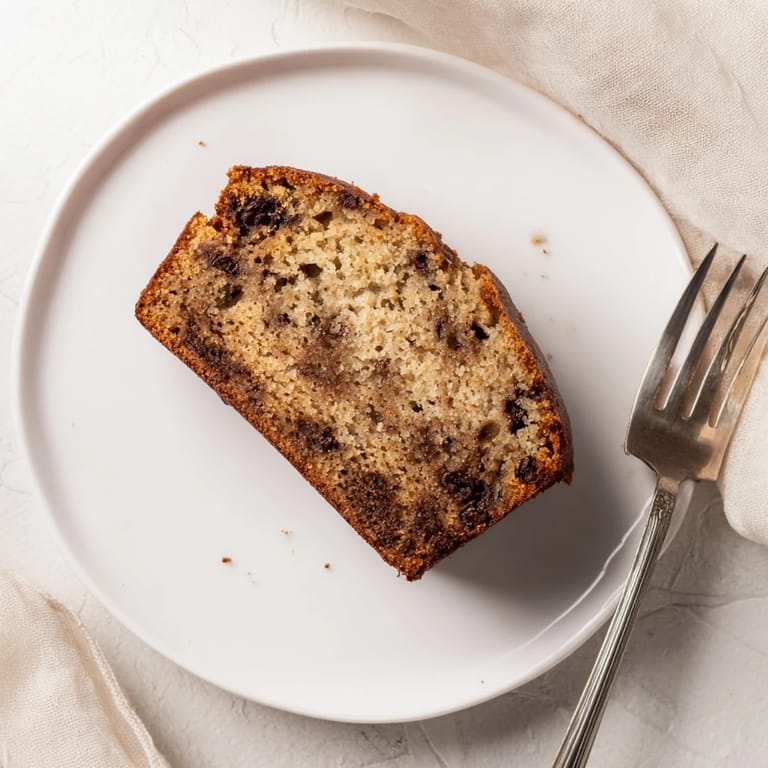
 This banana bread has lived in my kitchen long enough to become a quiet daily ritual, the kind of thing I make without consulting the recipe anymore. I hope it becomes part of your kitchen routine too, one overripe banana at a time.
Recipe Questions & Answers
- → How ripe should the bananas be?
Use bananas with heavily spotted or completely brown peels for the best flavor and moisture. Overripe bananas mash easily and provide natural sweetness that enhances the final loaf.
- → Can I make this without eggs?
Yes, substitute each egg with 1/4 cup of unsweetened applesauce or a flax egg (1 tablespoon ground flaxseed mixed with 3 tablespoons water, let sit 5 minutes). The texture will be slightly denser but still delicious.
- → How do I store leftover banana bread?
Wrap the cooled loaf tightly in plastic wrap or store in an airtight container at room temperature for up to 4 days. For longer storage, freeze individual slices wrapped in plastic and foil for up to 3 months.
- → Why is my banana bread dense or gummy?
Overmixing the batter develops too much gluten, resulting in a dense texture. Mix the dry ingredients into the wet ingredients until just combined, with a few lumps remaining. Also ensure your baking soda is fresh and active.
- → Can I use whole wheat flour instead?
Yes, substitute up to half of the all-purpose flour with whole wheat flour for added nutrition. Using 100% whole wheat flour will create a denser, heartier loaf with a nuttier flavor.
- → How can I tell when the bread is fully baked?
Insert a toothpick or cake tester into the center of the loaf. It should come out clean or with just a few moist crumbs attached. The top should be golden brown and spring back when lightly pressed.