 Save to Pinterest
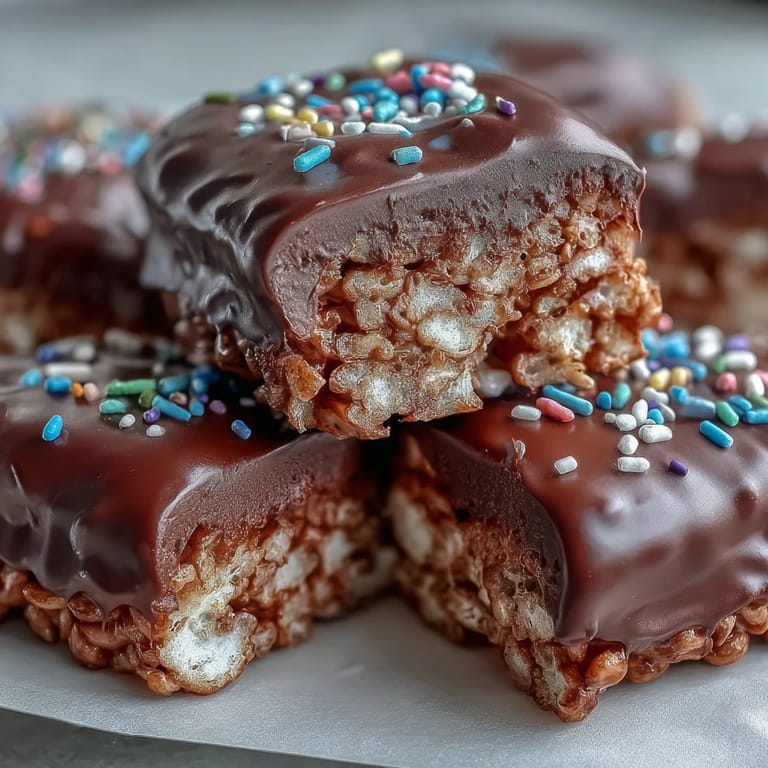
 My niece grabbed one from the platter before I even finished slicing, chocolate still soft enough to smudge her fingertips. She declared it better than anything from the bakery, and I watched three more disappear in under a minute. I'd worried the chocolate layer was too thick, but that enthusiastic reach told me everything. Sometimes the simplest treats become the most requested, and this one earned its spot on every family dessert table since.
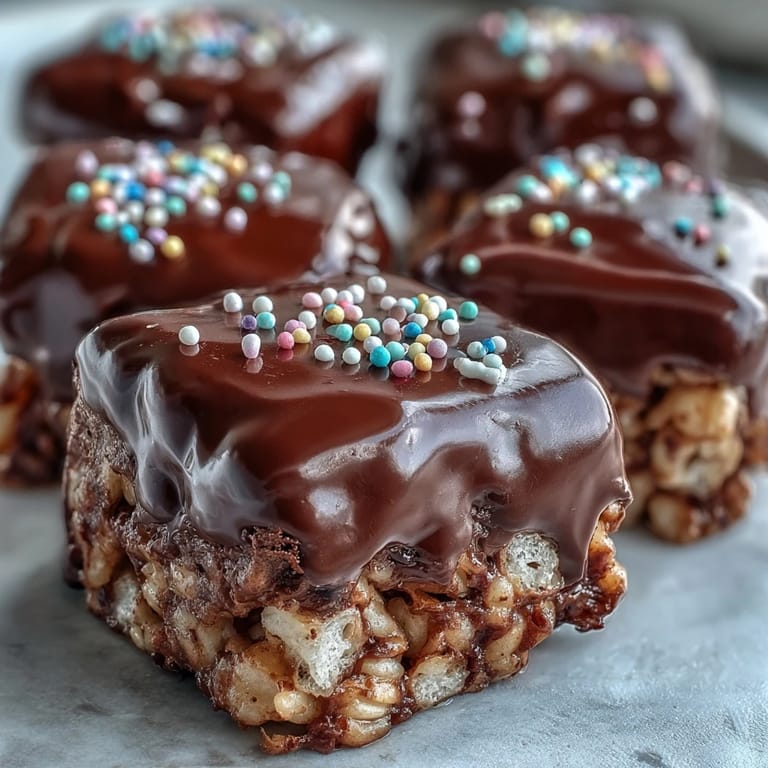
I brought a tray to a potluck once, tucked between casseroles and salads, half expecting them to get lost in the shuffle. Within twenty minutes, someone asked if I had the recipe written down. The chocolate had set just enough to hold its shape but still melted on the tongue, and the sprinkles added that playful touch that made people smile before they even tasted one. I handed out recipe cards on napkins that night, scribbling measurements while balancing a paper plate.
Ingredients
- Unsalted butter: Melts the marshmallows into a glossy, smooth binder without adding extra salt that might overpower the sweetness.
- Mini marshmallows: Melt faster and more evenly than large marshmallows, creating a uniform coating that clings to every puffed rice grain.
- Rice Krispies cereal: The crispy foundation that gives each bar its signature snap and airy texture.
- Fine sea salt: A small pinch deepens the sweetness and balances the richness of the chocolate topping.
- Semisweet or dark chocolate chips: Choose semisweet for classic sweetness or dark for a slightly bitter edge that contrasts beautifully with the sugary base.
- Vegetable oil or coconut oil: Thins the melted chocolate just enough to spread smoothly and gives it a glossy, professional finish.
- Rainbow sprinkles or chopped nuts: Add color, crunch, or both, turning plain bars into party-ready treats.
Tired of Takeout? 🥡
Get 10 meals you can make faster than delivery arrives. Seriously.
One email. No spam. Unsubscribe anytime.
Instructions
- Prep the pan:
- Grease your square pan generously so the sticky marshmallow mixture releases cleanly later. If you have parchment paper, line the pan with an overhang to lift the whole block out effortlessly.
- Melt the butter:
- Keep the heat low and stir constantly to avoid any browning, which would add an unwanted toasted flavor. The butter should be completely liquid and shimmering.
- Add the marshmallows:
- Stir patiently as they soften and melt into a smooth, glossy pool. Rushing this step can leave lumps that resist blending with the cereal.
- Season the mixture:
- Stir in the sea salt off the heat so it dissolves evenly without clumping. This is also the moment to add vanilla extract if you want a subtle aromatic boost.
- Fold in the cereal:
- Work gently to coat every piece without crushing the delicate puffs. A silicone spatula is your best friend here, scraping the sides to catch any stray marshmallow.
- Press into the pan:
- Use buttered hands or a greased spatula to press the mixture firmly and evenly, creating a compact layer that will slice cleanly later. Don't be shy, firm pressure prevents crumbly edges.
- Cool briefly:
- Let the base rest at room temperature for about ten minutes so it sets enough to support the chocolate without soaking it in. Too soft and the chocolate will sink, too firm and it won't adhere well.
- Melt the chocolate:
- Microwave in short bursts, stirring after each interval to distribute heat evenly and prevent scorching. The oil helps the chocolate stay fluid and glossy as it cools.
- Pour and spread:
- Pour the melted chocolate over the cooled base and use an offset spatula to spread it edge to edge in a smooth, even layer. Work quickly before it starts to set.
- Add the garnish:
- Scatter sprinkles or nuts immediately while the chocolate is still wet so they stick firmly. This is your chance to get creative with colors or textures.
- Set the chocolate:
- Allow the bars to rest at room temperature for at least an hour, or speed things up by refrigerating for twenty to thirty minutes. The chocolate should be firm to the touch and no longer tacky.
- Slice and serve:
- Lift the block from the pan if you used parchment, or carefully invert it onto a cutting board. Use a sharp knife, wiping the blade clean between cuts, to create neat squares that showcase the layers.
 Save to Pinterest
 One evening, my son asked if we could make these together instead of buying store-bought snacks for his class party. We stood side by side at the stove, and he took charge of stirring the marshmallows with the kind of focus reserved for important tasks. When he carried the finished tray to school the next morning, wrapped in foil and tagged with his name, I realized these bars had become more than dessert—they were little edible memories he'd carry with him.
Storing and Shelf Life
I learned the hard way that leaving these uncovered overnight invites the cereal to go soft and the chocolate to collect dust. Stack them in an airtight container with parchment between layers, and they'll stay crisp and snappy at room temperature for up to three days. If you need them to last longer, refrigerate them for a week, but let them sit out for a few minutes before serving so the chocolate isn't too hard to bite through. Freezing works too, wrapped tightly in plastic and then foil, for up to a month, though the texture is never quite as perfect as fresh.
Customizing Your Bars
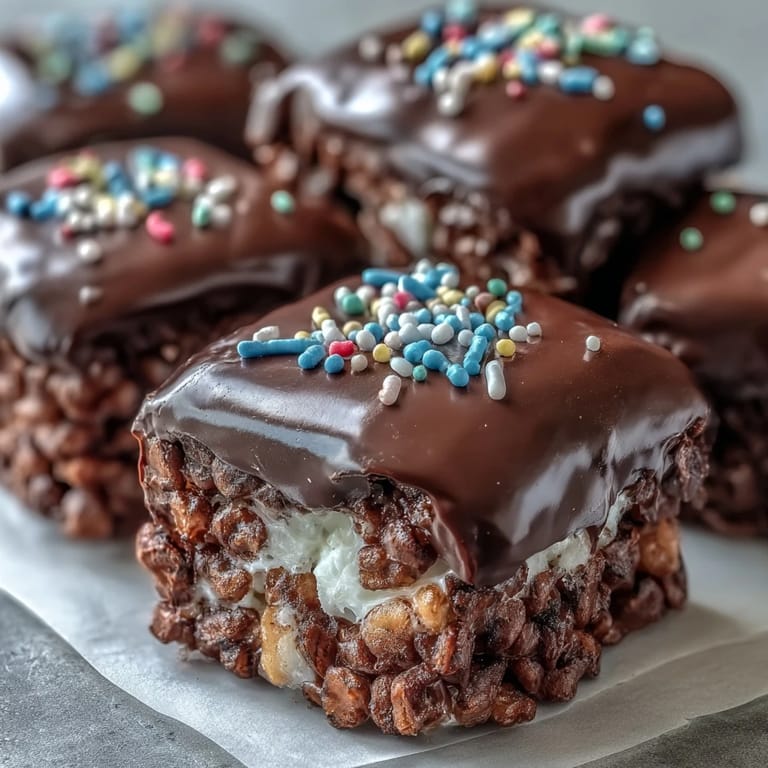
After making the classic version a dozen times, I started experimenting with toppings and flavors just to see what would stick. White chocolate with pastel sprinkles turned them into Easter treats, while a drizzle of peanut butter and a sprinkle of sea salt gave them a sweet-salty edge that disappeared faster than the original. You can stir mini chocolate chips or dried fruit into the cereal mixture before pressing, or swap the chocolate topping for a butterscotch layer if you're feeling adventurous. The base is forgiving enough to support almost any flavor direction you want to explore.
Troubleshooting Common Issues
The first time I made these, the marshmallow mixture hardened before I could fold in all the cereal, leaving me with clumpy, uneven bars that barely held together. Keeping the heat low and working quickly once you remove the pan from the burner solves that problem. If your chocolate seizes and turns grainy, a teaspoon of oil stirred in can sometimes bring it back to a smooth consistency. And if the bars stick stubbornly to the pan, run a thin knife around the edges and let them sit for a few minutes, the residual warmth often loosens the grip.
- If the cereal mixture is too sticky to press, lightly butter your hands or spatula again.
- If the chocolate is too thick to spread, reheat it gently and add a splash more oil.
- If the bars are too soft to cut cleanly, pop them in the fridge for ten minutes to firm up the chocolate.
 Save to Pinterest
 These bars have become my go-to whenever I need something reliable, crowd-pleasing, and made with ingredients I already have on hand. They prove that you don't need fancy techniques or exotic ingredients to create something people remember long after the last crumb is gone.
Recipe Questions & Answers
- → Can I use regular marshmallows instead of mini marshmallows?
Yes, you can substitute regular marshmallows. Use about 4 cups of regular marshmallows in place of the 10-ounce package of mini marshmallows. They may take slightly longer to melt completely.
- → How do I prevent the treats from sticking to the pan?
Thoroughly grease your pan with butter or line it with parchment paper, leaving an overhang on the sides. This makes lifting and cutting much easier once the chocolate has set.
- → Why add oil to the chocolate?
The vegetable or coconut oil helps thin the chocolate slightly, making it easier to spread smoothly over the treats and giving it a glossy, professional finish.
- → Can I make these ahead of time?
Absolutely. These bars store well in an airtight container at room temperature for up to 3 days or refrigerated for up to a week, making them ideal for advance party prep.
- → What variations can I try?
Swap semisweet chocolate for white or milk chocolate, add a drizzle of peanut butter, use different sprinkles for holidays, or mix in mini chocolate chips to the cereal mixture before pressing.
- → How do I cut clean bars without the chocolate cracking?
Use a sharp knife and wipe it clean between cuts. If the chocolate is very firm from refrigeration, let the block sit at room temperature for 5–10 minutes before slicing.