 Save to Pinterest
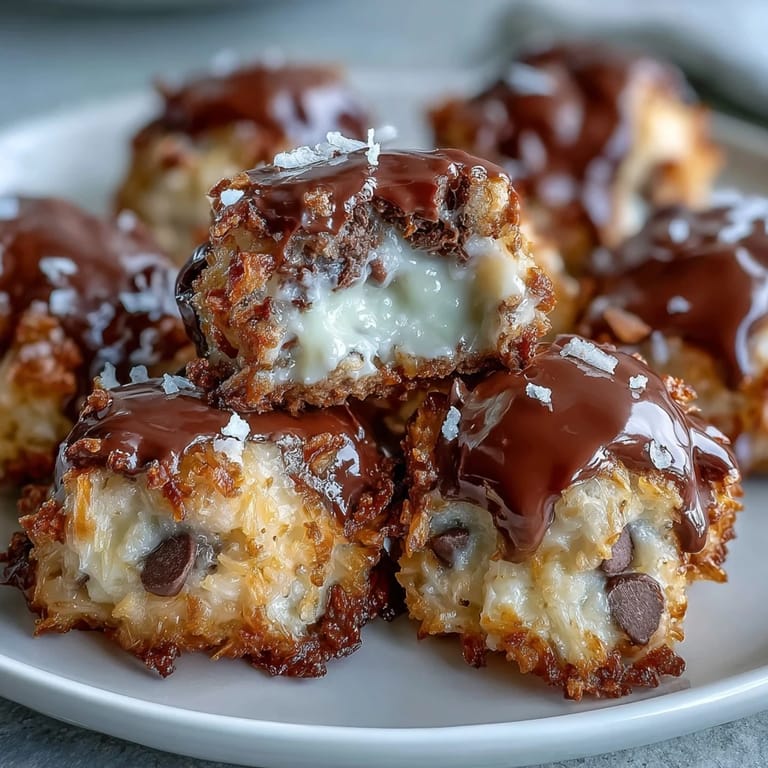
 I first made these Moose Bites on a snowy afternoon when my oven had given up the ghost and I still needed something sweet for a gathering that evening. What started as a desperate improvisation turned into one of the most requested treats in my repertoire. The name still makes my kids giggle every time I mention Im making moose for dessert.
My friend Sarah accidentally discovered that rolling them slightly larger than instructed makes for an impressive party presentation, while my grandmother prefers them marble-sized for popping whole. Ive learned that keeping my hands slightly chilled with cold water makes the rolling process so much smoother.
Ingredients
- Sweetened condensed milk: This magical ingredient creates the perfect bind and adds that distinctive creamy sweetness that makes these bites so addictive
- Unsalted butter: Melting this first helps everything incorporate beautifully, and unsalted lets you control the saltiness
- Vanilla extract: Pure vanilla makes a noticeable difference here since it's one of the few flavoring agents
- Dried shredded coconut: The sweetened variety works best, adding chew and tropical notes
- Graham cracker crumbs: Crushing your own from whole crackers gives you those lovely uneven pieces that add character
- Chocolate chips: Semi-sweet provides perfect balance, but the recipe welcomes experimentation
Tired of Takeout? 🥡
Get 10 meals you can make faster than delivery arrives. Seriously.
One email. No spam. Unsubscribe anytime.
Instructions
- Make the sticky base:
- In a large mixing bowl, combine the melted butter, sweetened condensed milk, and vanilla extract, stirring until completely smooth and uniform in color
- Add the dry mix-ins:
- Pour in the graham cracker crumbs, dried coconut, and chocolate chips, folding gently until every bit is coated and no dry pockets remain
- Chill the mixture:
- Cover the bowl and refrigerate for about 1 hour until the mixture firms enough to hold its shape when touched
- Form the bites:
- Using a small cookie scoop or tablespoon, portion the mixture and roll between your palms into 1¼-inch balls, working quickly to prevent melting
- Add the coating:
- Roll each ball gently in extra graham cracker crumbs until evenly coated, pressing lightly to help them adhere
- Final chill:
- Place the finished bites on a parchment-lined baking sheet and refrigerate for at least 15 minutes until completely set
 Save to Pinterest
 Last Christmas, my nephew helped me make a double batch and managed to create perfectly spherical bites that looked like tiny professional confections. His secret was using two spoons to shape them instead of his hands, keeping the mixture colder and the exterior smoother.
Perfecting The Texture
The magic happens in the contrast between the smooth interior and the crisp exterior coating. Ive found that pulsing the graham crackers in a food processor creates the most uniform crumbs, though crushing them by hand in a zip-top bag works perfectly fine and is oddly therapeutic.
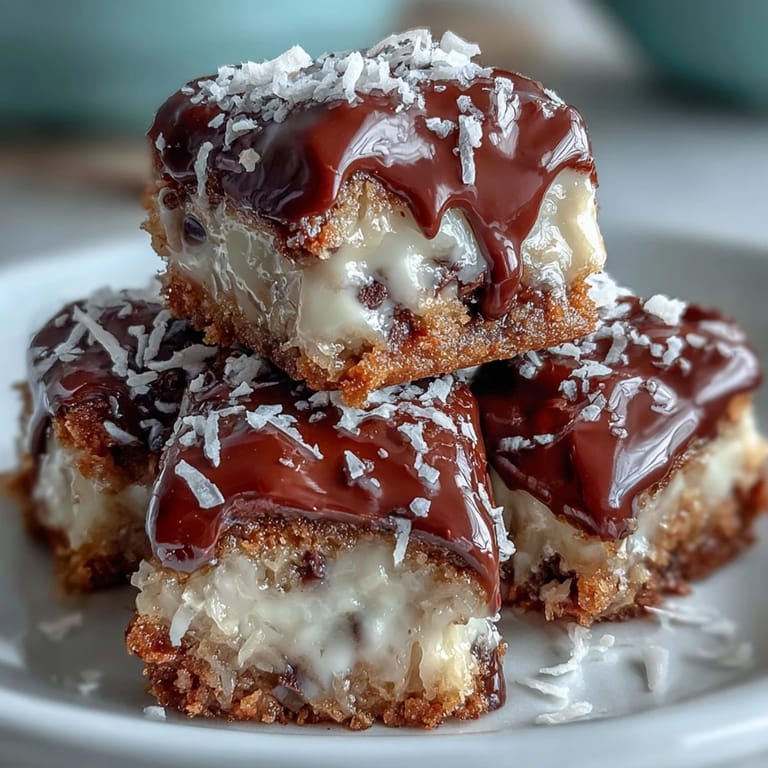
Flavor Variations
These bites are remarkably forgiving to experimentation. Adding a pinch of sea salt to the coating creates a salted chocolate effect, while mixing in some orange zest transforms them into something entirely different and elegant.
Serving Suggestions
Arrange them on a vintage cake stand for parties, or package them in small boxes tied with twine for gifts. I like to serve them alongside a cheese board where their sweetness balances beautifully with sharp cheddars and aged goudas.
- Try them with a cup of strong black coffee to cut through the richness
- Crumble one over vanilla ice cream for an instant dessert upgrade
- Pair with hot chocolate during winter for maximum cozy vibes
 Save to Pinterest
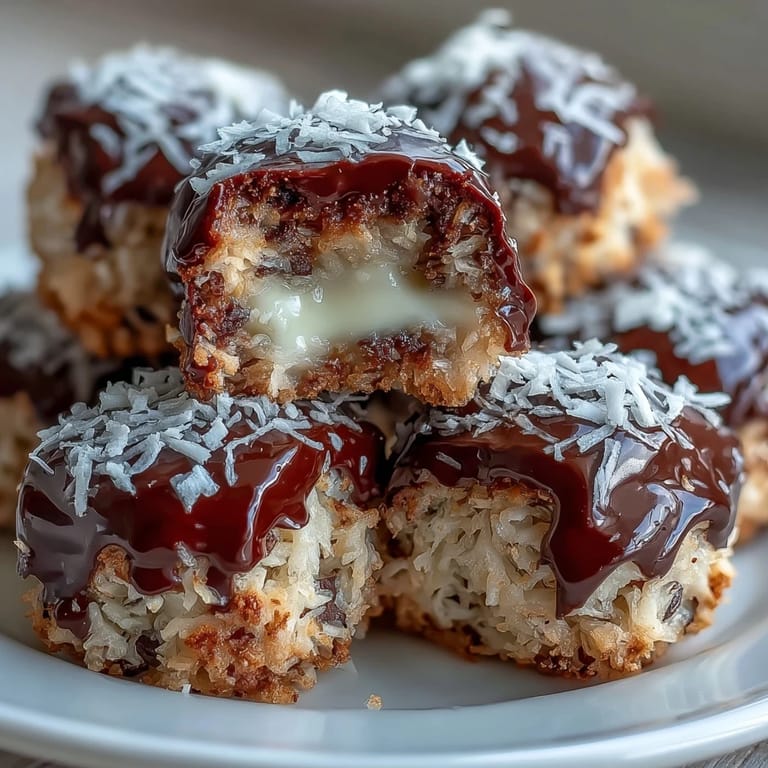
 Theres something deeply satisfying about no-bake recipes—the kind of instant gratification that reminds you homemade treats dont always require hours of effort. These Moose Bites have become my go-to for bringing a little joy without the stress.
Recipe Questions & Answers
- → How long do Moose Bites need to chill?
The mixture needs about 1 hour in the refrigerator until firm enough to handle. After rolling, chill another 15 minutes until set.
- → Can I make Moose Bites ahead of time?
Yes! Store in an airtight container in the refrigerator for up to one week. The flavors actually develop better after a day or two.
- → What can I substitute for sweetened condensed milk?
You can try making homemade condensed milk or use coconut cream sweetened with powdered sugar, though the texture will vary slightly.
- → Are Moose Bites freezer-friendly?
Absolutely. Freeze on a baking sheet first, then transfer to a freezer-safe container. They'll keep for up to 3 months. Thaw in the refrigerator.
- → Can I reduce the sweetness?
Use semi-sweet or dark chocolate chips instead of milk chocolate, and reduce slightly to 1 cup for a less sweet version.
- → Why are they called Moose Bites?
The name likely comes from their appearance—dark, bite-sized treats resembling moose droppings, a playful Canadian nod to these indulgent chocolate-coconut morsels.