 Save to Pinterest
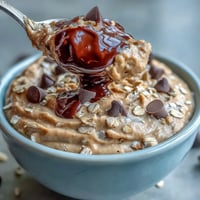
 Last summer, I was tired of the usual post-workout routine of protein bars and shakes. My friend Sarah mentioned she'd started making these protein cheesecake cups, and one afternoon she brought a batch to my place. The moment I bit into one—that creamy filling, the satisfying crunch of the base—I was hooked. I asked for the recipe immediately, and now they're my go-to when I want something that feels indulgent but doesn't derail my fitness goals.
I remember bringing these to a dinner party last spring, genuinely nervous about serving a "healthy" dessert to a group of people who lived for butter and sugar. But watching everyone go back for seconds, asking if I'd bought them from a bakery, changed something for me about what healthy eating could look like.
Ingredients
- Oat flour: The backbone of your crust, giving it that wholesome texture and helping bind everything together without heavyweight flour.
- Almond or peanut butter: This is your secret for moisture and richness in the base—skip it and you'll end up with a dry, crumbly mess.
- Honey or maple syrup: Sweetens both the base and filling; I learned the hard way that granulated sugar won't dissolve smoothly into the yogurt mixture.
- Cream cheese: Reduced-fat works perfectly here because the Greek yogurt adds body, so you don't need full-fat for that silky texture.
- Greek yogurt: The MVP ingredient—it adds tanginess, protein, and a lighter mouthfeel than traditional cheesecake while keeping calories in check.
- Vanilla whey protein powder: Dissolves cleanly and adds nearly a scoop of protein without grittiness if you mix well.
- Lemon zest: Optional but transformative; it brightens the whole dessert and cuts through the richness beautifully.
Tired of Takeout? 🥡
Get 10 meals you can make faster than delivery arrives. Seriously.
One email. No spam. Unsubscribe anytime.
Instructions
- Make the base:
- Combine oat flour, nut butter, honey, and salt in a bowl, stirring until you get a sandy, slightly clumpy texture—it should hold together when squeezed but still feel grainy. If it's too dry, add a touch more nut butter; too wet, add a bit of oat flour.
- Press and chill the foundation:
- Divide the mixture among six muffin liners, pressing down firmly with the back of a spoon to create an even, compact layer. This step matters more than you'd think—a loose base will crumble when you remove the liners.
- Whip the filling:
- Beat the softened cream cheese until completely smooth, breaking up any lumps, then fold in the Greek yogurt, protein powder, honey, vanilla, and lemon zest until you have a creamy, mousse-like consistency. Take your time here; a lumpy filling will show when you slice into it.
- Layer and smooth:
- Spoon the cheesecake mixture over each base, using a spatula to level the tops and create those clean lines you see in bakery photos. This is where things go from homemade-looking to impressive.
- Add your finishing touch:
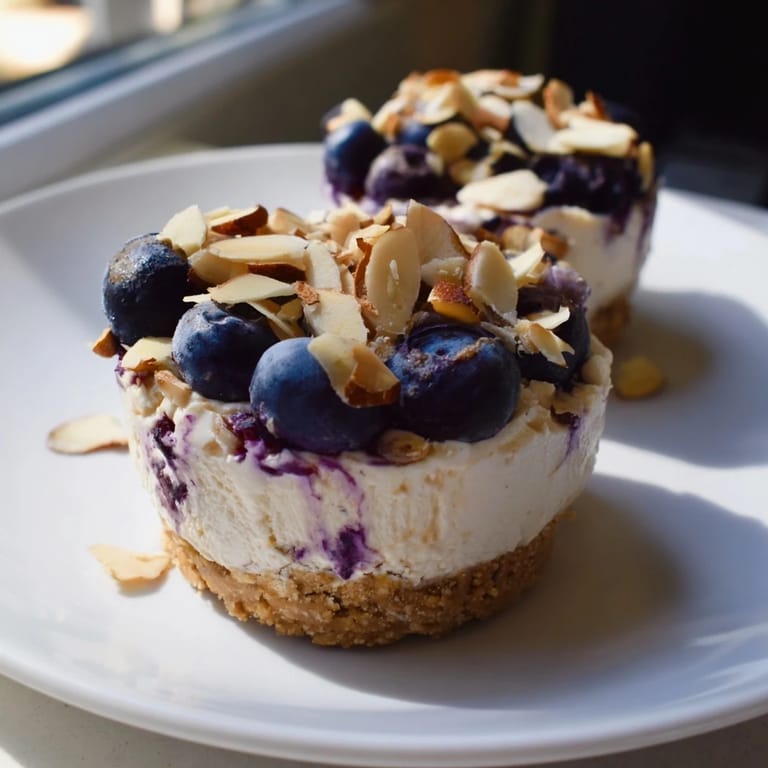
- Top with berries, nuts, chocolate shavings, or leave them plain—whatever speaks to you. I usually add a few raspberries because they look beautiful and their tartness plays perfectly against the sweetness.
- Chill until set:
- Refrigerate for at least two hours, though overnight is even better and lets the flavors settle. You'll know they're ready when the filling is firm but still creamy, not frozen solid.
 Save to Pinterest
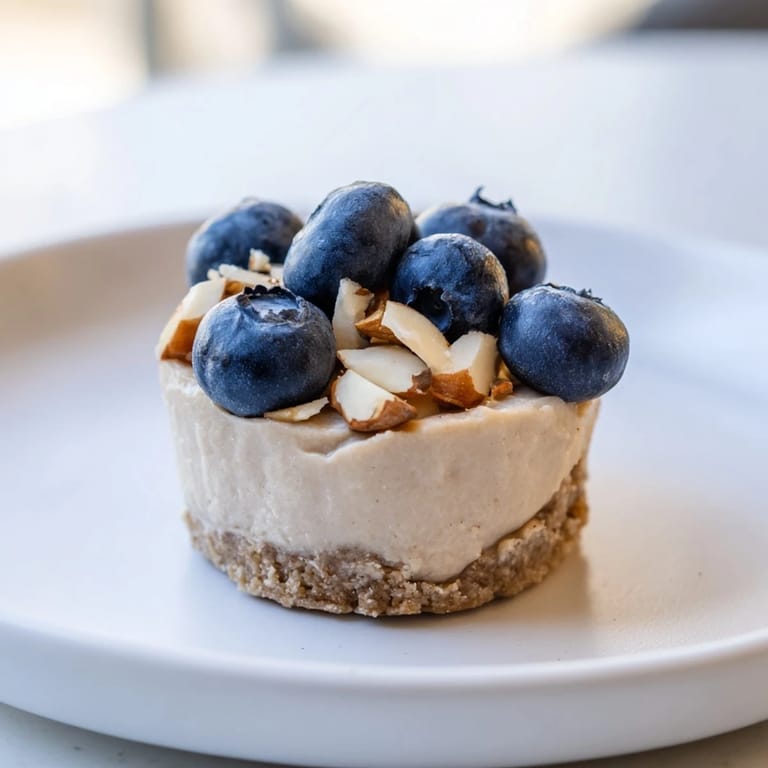
 There's something deeply satisfying about these cups sitting in your fridge, lined up like little promises you kept to yourself. They've become my shorthand for treating myself well.
Why the Base Matters
The crust is where I used to cut corners, thinking nobody would notice. But a soggy or crumbly base completely changes how these taste and feel. The nut butter is essential—it adds fat and moisture that keeps things tender, not dense. I've tried versions with just honey and flour, and they fall apart. The pressing step is equally important; a loose base becomes a liability when you're trying to remove the liners.
Protein Powder Secrets
Not all protein powders behave the same in cheesecake. Whey powder mixes in smoothly because of its fine texture, while plant-based versions can sometimes feel gritty or leave an aftertaste. Vanilla is my choice because it's neutral enough not to compete with the tanginess of the yogurt and cream cheese. I've learned to sift the powder if it's been sitting in my pantry for a while—clumps are real, and they're frustrating.
Variations and Flexibility
Once I started making these regularly, I began experimenting with different layers and toppings, and that's when they became truly mine. You can swap the base entirely using crushed gluten-free cookies, change the protein powder flavor, or add a thin layer of fruit compote between the base and filling. For a vegan version, dairy-free cream cheese and plant yogurt work beautifully, though you'll need to taste and adjust sweetness since these products sometimes taste different than their dairy counterparts.
- Try adding a tablespoon of cocoa powder to the filling for a cookies-and-cream version, or almond extract for something closer to traditional cheesecake.
- A swirl of nut butter on top before chilling adds richness and visual appeal without much extra work.
- These freeze surprisingly well for up to a month, so batch-making them on Sunday sets up your week perfectly.
 Save to Pinterest
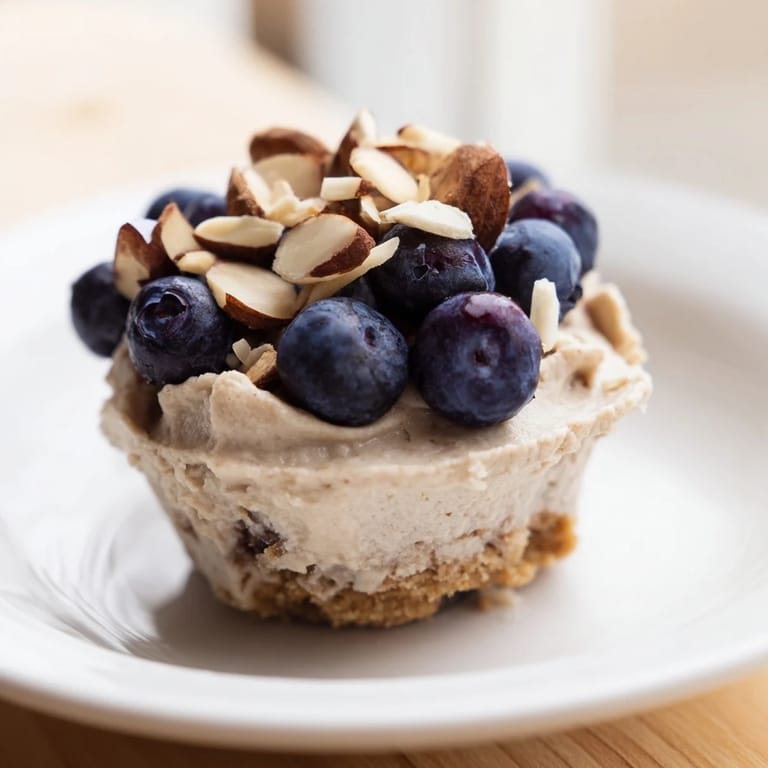
 These little cups have become more than a snack for me; they're proof that eating well doesn't have to feel like punishment. Make them, enjoy them, and let them remind you that treating yourself and honoring your goals aren't opposite things.
Recipe Questions & Answers
- → What can I use instead of oat flour for the base?
Almond flour works well as a gluten-free alternative, maintaining the crunchy texture and nutty flavor.
- → Can I substitute the sweetener in the filling?
Yes, maple syrup or honey can be used interchangeably to add natural sweetness without overpowering the flavors.
- → How long should the cups chill before serving?
Chilling for at least 2 hours helps the filling firm up and enhances the overall texture and taste.
- → Are there vegan options for this dessert?
Yes, use dairy-free cream cheese, plant-based yogurt, and plant-based protein powder to create a vegan-friendly version.
- → What toppings complement these cheesecake cups best?
Fresh berries, chopped nuts, or dark chocolate shavings add complementary flavors and a satisfying crunch.